How to Showcase PV + Storage Solutions Effectively for Better Sales and Training
1. Why a Demo System is a Sales Powerhouse
For many customers, seeing is believing. While spec sheets and brochures can convey technical details, nothing beats the impact of a live, working demo when explaining solar + storage solutions.
Whether in your company showroom or at a distributor’s facility, a well-designed demo system helps:
- Educate customers and sales teams
- Demonstrate performance and features in real time
- Build brand trust and credibility
- Shorten the sales cycle by answering questions visually
For small to medium enterprises (SMEs), this can be the difference between being another catalog supplier and becoming a trusted technical partner.
2. Defining the Purpose of Your Demo System
Before building, decide:
- Sales-focused? To impress retail customers and decision-makers.
- Training-focused? To teach installers, agents, and service teams.
- Technical showcase? To demonstrate advanced features like hybrid modes, remote monitoring, or modular scalability.
Your design choices—size, configuration, components—will depend heavily on the intended audience.
3. Core Components to Include
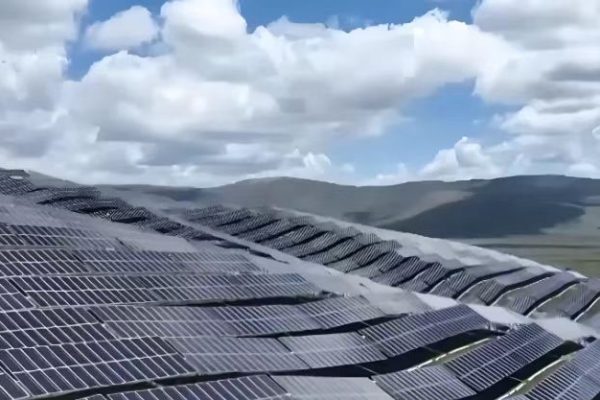
3.1 PV Array (or Simulation)
- Option 1: Install small-scale rooftop or ground-mounted panels for real solar input.
- Option 2: Use a PV simulator for indoor setups where real sunlight isn’t practical.
3.2 Inverter(s)
- Show different inverter types:
- String inverter for simplicity
- Hybrid inverter for battery integration
- Include display screens and monitoring apps for hands-on demonstration.
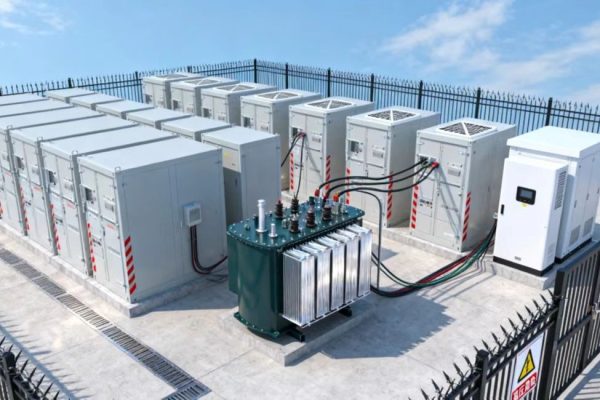
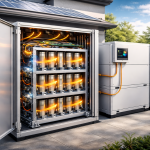
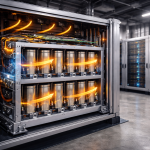
3.3 Battery Storage
- LiFePO₄ packs for safety and lifespan.
- Transparent casing (optional) to show cell arrangement and BMS.
3.4 Energy Management & Monitoring
- Include a live dashboard showing:
- Solar generation
- Battery charge/discharge
- Load consumption
- Grid import/export
3.5 Loads
- Select visible, relatable loads: lights, fans, small appliances.
- Show switching between solar, battery, and grid power seamlessly.
4. Design Considerations for Showroom Impact
4.1 Safety First
- Lockable panels and covers to prevent accidental contact with live parts.
- Clear labeling of all components.
4.2 Aesthetic Presentation
- Use color-coded wiring and tidy cable routing.
- Place components in an open-frame rack or glass-enclosed cabinet for visibility.
- Include your brand logo and QR codes linking to product brochures.
4.3 Interactivity
- Allow customers to turn loads on/off and see immediate changes in power flow.
- Use large display monitors for live system data.
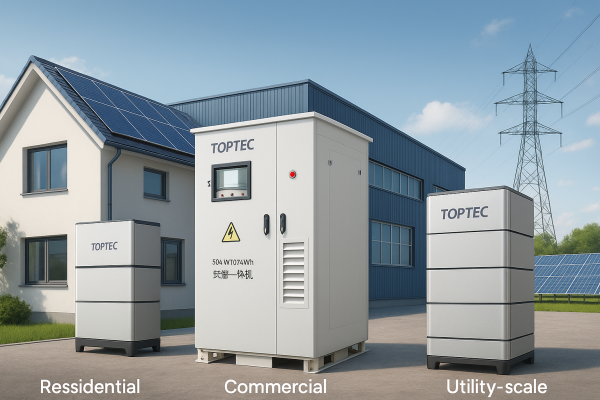
5. Sizing Your Demo System
You don’t need a full-scale installation. In many cases, a 1–3 kW PV system with 5–10 kWh battery storage is enough for demonstration and training.
The goal is function over capacity—you want people to understand system behavior, not power an entire building.
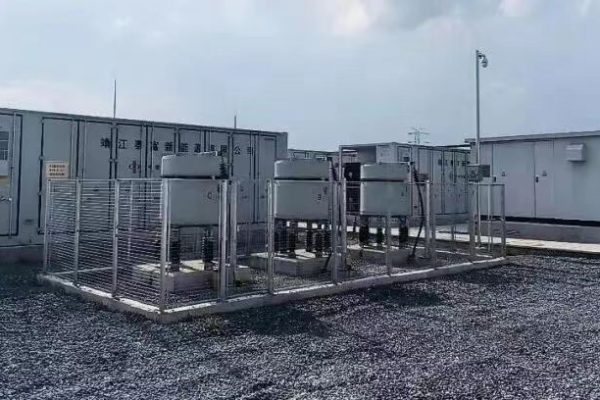
6. Building for Distributor Locations
If your distributor will host the demo system:
- Portability matters – Consider a modular cabinet that can be shipped and reassembled.
- Remote monitoring – You can track performance and update firmware from your main office.
- Local adaptation – Match component models to the distributor’s target market.
7. Training Use Cases
With a live system, you can train on:
- Inverter configuration
- Battery commissioning and firmware updates
- Fault diagnosis using error codes and logs
- Safety procedures and shut-down sequences
This hands-on experience builds installer confidence—reducing future technical support calls.
8. Common Mistakes to Avoid
- Overcomplicating the system – Too many features can overwhelm non-technical visitors.
- Neglecting maintenance – A dusty, non-functional demo unit is worse than no demo at all.
- Failing to update firmware – Demonstrate the latest features, not outdated ones.
- No clear explanations – Always have an easy-to-follow diagram and talking points ready.
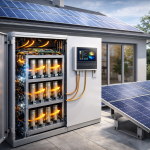
9. Example Setup for a Small Commercial Showroom
Configuration:
- 2 kW PV array on the roof
- 5 kWh LiFePO₄ battery in cabinet with transparent front
- Hybrid inverter with LCD display
- Energy monitoring screen on wall showing live flow
- Loads: LED lighting, a small fan, and a laptop charging station
- Safety labeling: High-voltage warning signs, color-coded wiring
Cost Estimate: $4,000–$6,000 depending on components and presentation quality.
10. Your Demo is a Sales Tool, Not Just a System
A PV + storage demo system isn’t just for showing that your equipment works—it’s for educating, inspiring, and closing deals.
Whether you’re attracting walk-in customers in a showroom or enabling a distributor to run local training sessions, a well-planned demo system can:
- Showcase your technical capabilities
- Build brand trust
- Speed up the sales decision process
In a competitive solar market, a live demonstration can make you stand out far more than a glossy brochure ever will.