

A Step-by-Step Practical Guide for Homeowners, Installers, and Energy Professionals
As extreme weather events and grid instability increase worldwide, home backup power systems have become an essential part of modern energy resilience. A properly designed inverter + battery system can keep critical appliances running, protect against blackouts, and reduce electricity bills through smart energy management.
In this article, we’ll break down the core design principles of residential backup systems — from power sizing and inverter selection to battery configuration and safety considerations — helping you or your customers make the right technical and financial decisions.
1. Why Home Backup Systems Matter
Power outages can disrupt more than comfort — they can stop work, damage appliances, and even threaten safety in homes with medical devices.
A hybrid inverter + battery setup provides:
✅ Uninterrupted power for essentials (lights, fridge, Wi-Fi, pumps, etc.)
✅ Energy independence from unstable grids
✅ Integration with rooftop solar for long-term savings
✅ Smart monitoring and remote management
💡 In markets like Southeast Asia, Africa, and Latin America, home ESS adoption is growing over 30% annually as homeowners seek reliable, solar-compatible solutions.
2. Understanding the System Structure
A standard home backup system includes:
- Inverter/Charger (Hybrid Inverter) – Converts DC battery power to AC electricity and controls charging/discharging.
- Battery Bank – Stores energy for backup; typically LiFePO₄ (LFP) or NMC lithium cells.
- Optional PV Array – Provides daytime solar charging.
- Automatic Transfer Switch (ATS) – Instantly switches power source during grid outages.
- Monitoring System (Wi-Fi/4G) – Allows real-time performance tracking via mobile app or web portal.
Grid → Hybrid Inverter → Load
        ↑        ↓
      PV Array  Battery
🔧 Hybrid systems can operate both grid-tied and off-grid, automatically switching as needed — perfect for areas with frequent but short blackouts.
3. Step 1: Define the Power Requirements
Start by listing which appliances need backup power.
Divide them into two groups:
| Appliance | Power (W) | Hours per Day | Energy (Wh) |
|---|---|---|---|
| Refrigerator | 150 | 24 | 3600 |
| Lighting (LEDs) | 100 | 6 | 600 |
| Wi-Fi Router + Laptop | 60 | 10 | 600 |
| Fan | 75 | 8 | 600 |
| Total | — | — | 5400 Wh ≈ 5.4 kWh/day |
Then decide your backup duration — e.g., 1 day of autonomy.
In this case, a battery capacity of ~6 kWh usable energy would cover one day’s essential loads.
⚙️ Tip: Always add a 10–20% margin to account for inverter losses and peak load surges.
4. Step 2: Choose the Right Inverter Size
Inverter rating = total peak load × safety factor (1.2–1.5×).
For example, if your total simultaneous load is 3 kW:
- Recommended inverter = 3.6–4.5 kW
- Input voltage = 48V DC system (common for small home systems)
| Application | Typical Inverter Size | Notes |
|---|---|---|
| Small home / apartment | 3–5 kW | Single-phase, wall-mounted |
| Medium home | 5–10 kW | Hybrid inverter recommended |
| Villa / large house | 10–15 kW | May require 3-phase setup |
💡 Hybrid inverters (e.g., Growatt, Deye, GoodWe, Luxpower) offer integrated MPPT for solar charging and smart grid switching, simplifying design.
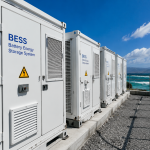
5. Step 3: Select Battery Type and Configuration
🔋 1) Battery Chemistry
For home backup systems, LFP (LiFePO₄) is the preferred choice due to:
- Long lifespan (4000–8000 cycles)
- High safety and thermal stability
- Wide operating temperature range
🔋 2) Capacity Calculation
Battery Capacity (kWh) = Load Energy (kWh/day) ÷ Depth of Discharge
If daily backup need = 5 kWh and DoD = 90%:
Battery = 5 ÷ 0.9 = 5.6 kWh usable.
Choose from:
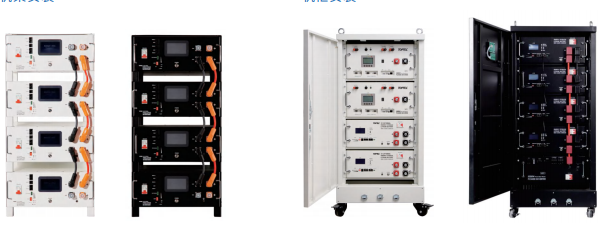
- Wall-mounted LFP packs (5–15 kWh)
- Stackable modules (51.2V/100Ah units)
⚠️ For longer outages (2–3 days), consider modular stacking or hybrid generator integration.
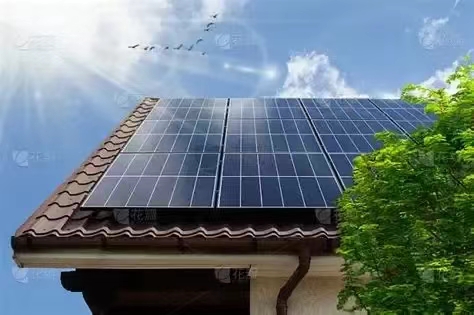
6. Step 4: Add Solar PV (Optional but Recommended)
Adding rooftop solar panels enables your backup system to recharge independently during the day.
Sizing Rule of Thumb
PV array (kWp) ≈ Daily load (kWh) ÷ Average sun hours
For example, if load = 5 kWh/day and sun = 5 hours/day → 1 kWp solar array.
☀️ A 3–5 kWp solar system paired with a 5–10 kWh battery offers true energy independence for most homes.
7. Step 5: Decide on Backup Circuit or Whole-House Backup
There are two design approaches:
| Type | Description | Example |
|---|---|---|
| Partial Backup | Only essential loads connected to backup output | Lights, fridge, router |
| Whole-House Backup | Entire house powered by inverter | Requires higher capacity |
🧩 In most residential projects, partial backup saves cost and battery life — focusing on essentials first.
8. Step 6: System Control and Monitoring
Modern inverters provide mobile or web-based monitoring for:
- Real-time power flow (Grid → Load → Battery)
- SOC (State of Charge) tracking
- Fault alerts and historical data
Some suppliers integrate EMS (Energy Management System) to optimize self-consumption and load shifting.
📱 Tip: Always verify that your inverter supports local monitoring in case of Internet failure.*
9. Step 7: Safety and Protection Design
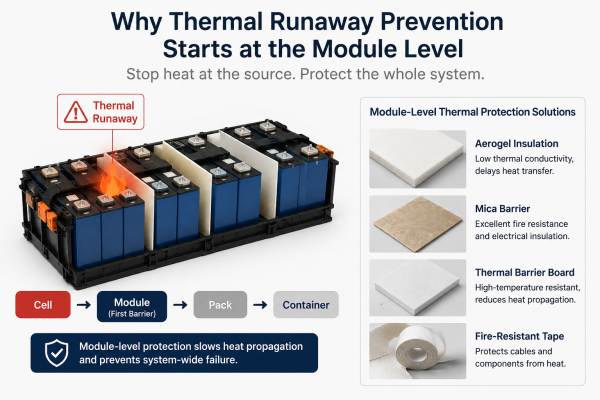
Safety is critical for all lithium-based systems. Include:
- Proper circuit breakers on DC and AC sides
- BMS (Battery Management System) with overcharge, short circuit, and thermal protection
- Grounding and surge protection
- Fire-resistant enclosures (especially for indoor setups)
- Ventilation clearance for heat dissipation
🔒 Never place batteries in damp, unventilated, or overheated areas such as kitchen closets or boiler rooms.
10. Step 8: Installation and Commissioning
Professional installation ensures:
- Correct cable sizing and polarity
- Stable communication between inverter and BMS
- Proper grounding
- Compliance with local electrical standards (CE, UL, SAA, etc.)
Before commissioning, check:
✅ All terminals are torqued properly
✅ SOC is balanced
✅ Communication (CAN/RS485) is stable
✅ Firmware is up to date
🧠 Ask your supplier to provide a wiring diagram and installation guide — many offer video walkthroughs or remote commissioning support.
11. Step 9: Maintenance and Lifecycle
LFP systems are nearly maintenance-free, but you should:
- Keep firmware updated
- Inspect cables and terminals every 6–12 months
- Check inverter logs for error codes
- Avoid full discharges below 10% SOC
Expected lifespan:
- Battery: 8–12 years (depending on cycle depth)
- Inverter: 8–10 years
12. Cost Estimation and ROI
Approximate cost breakdown (2025 average retail prices):
| Component | Size | Cost (USD) |
|---|---|---|
| Hybrid Inverter | 5 kW | $700–1,200 |
| LFP Battery | 10 kWh | $2,500–3,000 |
| Accessories + Install | — | $500–800 |
| Total | — | $3,700–5,000 |
ROI improves if combined with solar PV and time-of-use (TOU) savings — payback in 3–5 years depending on electricity rates.
13. Common Mistakes to Avoid
🚫 Undersizing inverter for startup surges (AC units, pumps)
🚫 Mixing incompatible inverter and battery brands without checking protocol
🚫 Ignoring local certification requirements
🚫 Installing batteries in unventilated or humid areas
🚫 Not backing up critical communication loads (router, Wi-Fi)
✅ Always confirm with supplier if their inverter + battery set is “plug-and-play” for your local grid voltage and frequency (110V/230V, 50/60Hz).
Designing a home backup system with inverter + battery isn’t just about hardware — it’s about understanding energy priorities, safety, and future expandability.
When properly designed:
✅ Essential loads stay powered during blackouts
✅ Solar energy is stored and used efficiently
✅ The home gains independence and resilience
With modular LFP batteries, smart hybrid inverters, and remote monitoring, today’s home ESS solutions are safer, smarter, and more affordable than ever.
⚡ Backup power is no longer a luxury — it’s an essential part of modern, secure, and sustainable living.